Creating a background
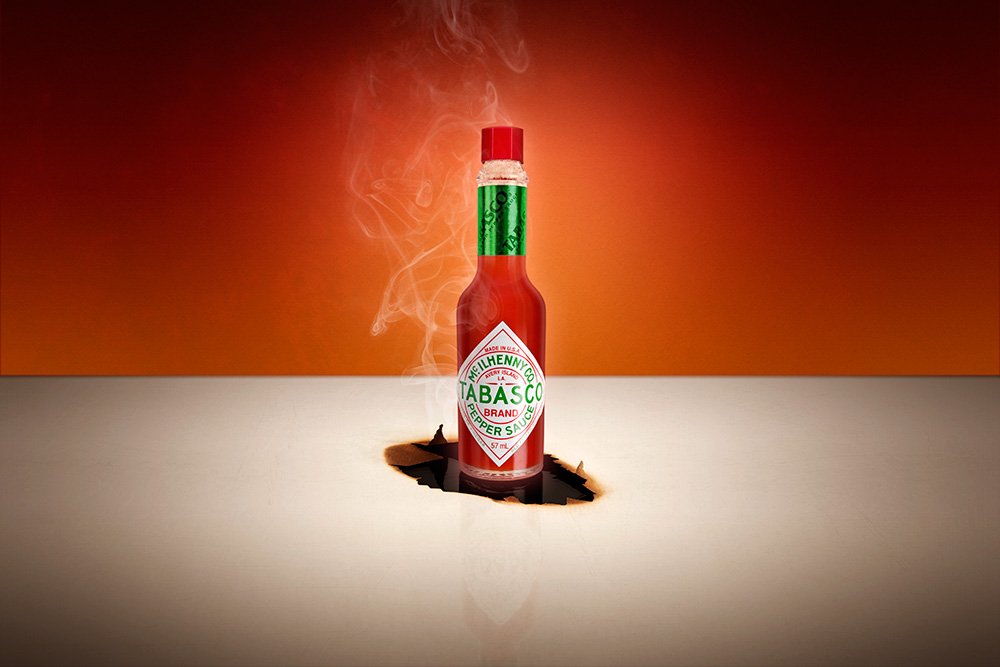
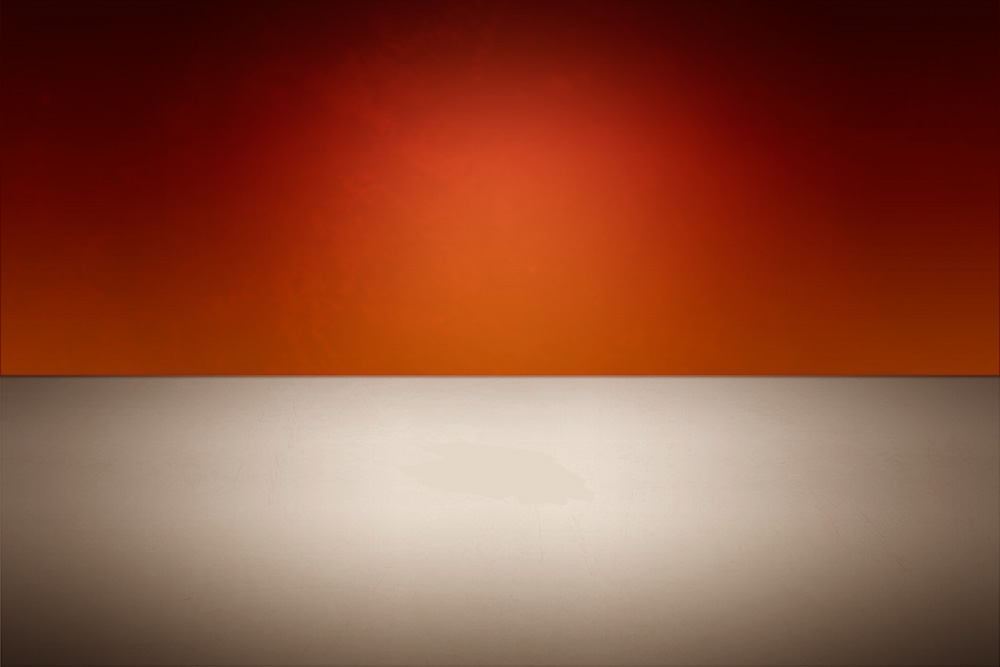
My first task was to photograph and create a background. I immediately decided to use a half and half approach by building a vivid background mixed with subtle textures that mainly emphasise heat and warmth. The background was created using a mixture of separate layers with gradients applied to the originally photographed image. I used adjustment layers which I personally feel is a great way of adding slight imperfections and colour casts to the image which would be apparent in most images captured in camera with no post processing. It can also be a useful way of blending and merging colours from separate layers together to create more realistic effects
Adding Tabasco bottle
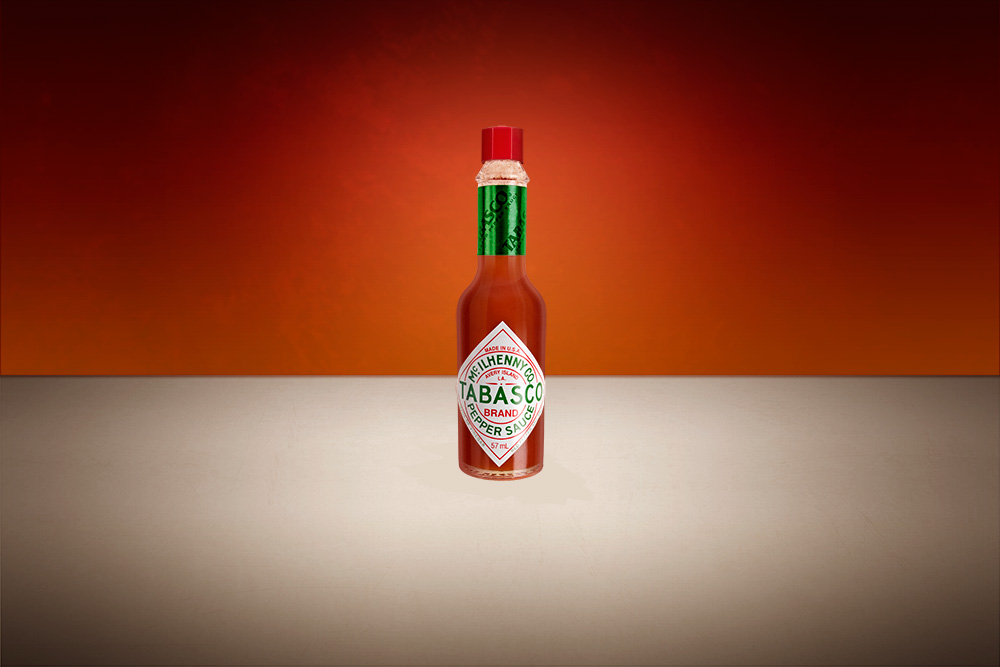
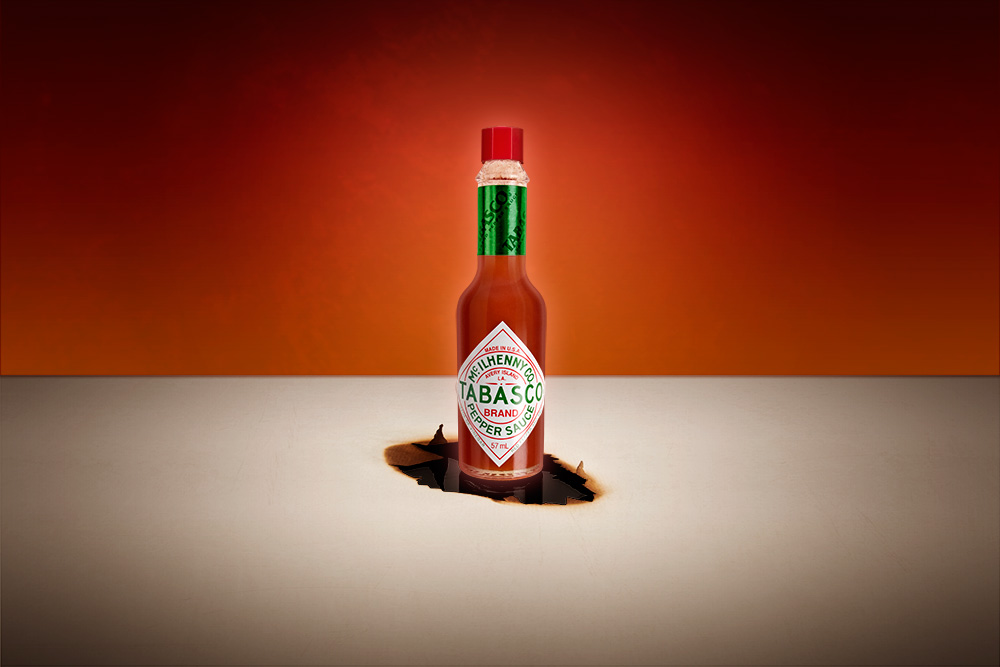
Once the background was complete I added the Tabasco layer separately photographed and graded each element of the bottle separately (label, glass, green label, and the bottle cap). This allows me to specifically enhance all areas of the Tabasco bottle without effecting the whole image. With each element of the bottle on a separate layer I can easily adjust colours, reflections, lighting and more. The Tabasco bottle was photographed using the same lighting conditions as the background except with a variety of reflectors to add further detail into the bottle
Burn effects
For the burn effect I used a glossy A4 piece of paper and carefully burnt a whole into its centre. The paper was then photographed on top of glass which allowed me to capture the papers reflection in camera. The glass creates a dark volcanic surface effect which is completely at contrast to the delicate white sheet of paper above. The paper used was simply standard A4 white printing paper
Smoke effects
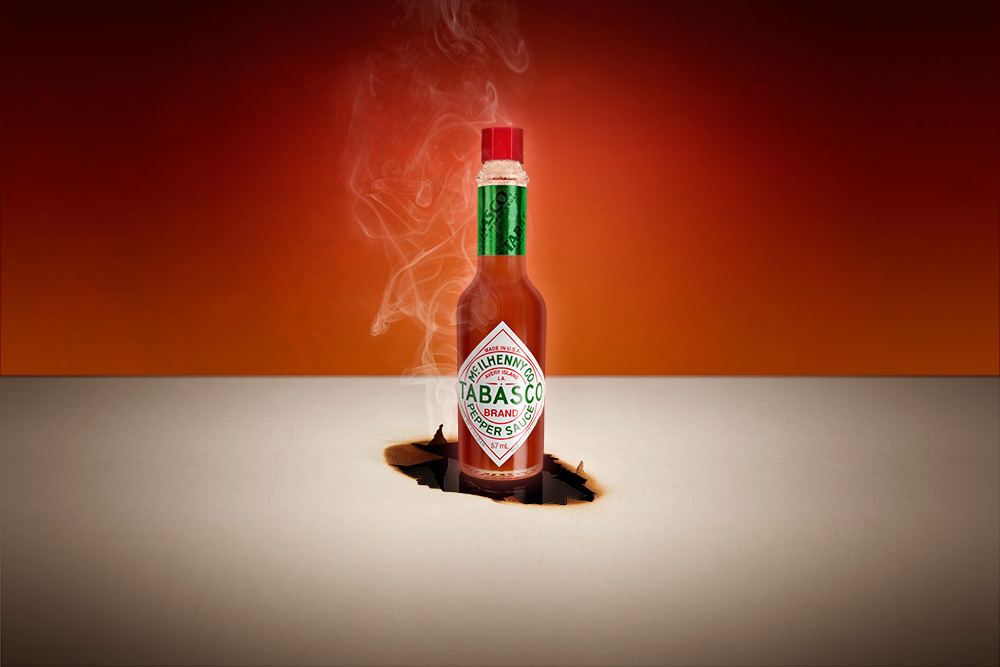
Unfortunately it was almost impossible for me to burn a hole into the paper and capture the smoke at the same time so I decided that a much easier approach is to add smoke in Photoshop using blending modes to help composite the smoke in-front and behind the bottle
Finishing touches
For the finishing touches I added some adjustments layers into a group and I created a final grade over the entire image (all layers). Some adjustment layers are at different points in the layer stack which is almost identical to a post production grading workflow. I’m pleased with the result and the project was exciting and also challenging. Shooting anything with reflective surfaces is never easy but with some patience with setting up soft lighting and using Photoshop it’s possible to create some great creative product shots
